Integration of graphrag
July 14, 2024Less than 1 minuteGuide
Install and configure the corresponding libraries
To avoid unnecessary trouble, please use a virtual environment:
- miniconda3, the minimal installation version of conda, of course, you can also directly use Anaconda.
- uv, a very fast package installer and resolver built with Rust.
conda
conda create -n rag python=3.12
conda activate rag
pip install --upgrade pdfdeal graphrag
uv
uv venv
source .venv/bin/activate # For Linux
source .venv/Scripts/activate # For Windows
uv pip install --upgrade graphrag pdfdeal
Step1: Convert PDF
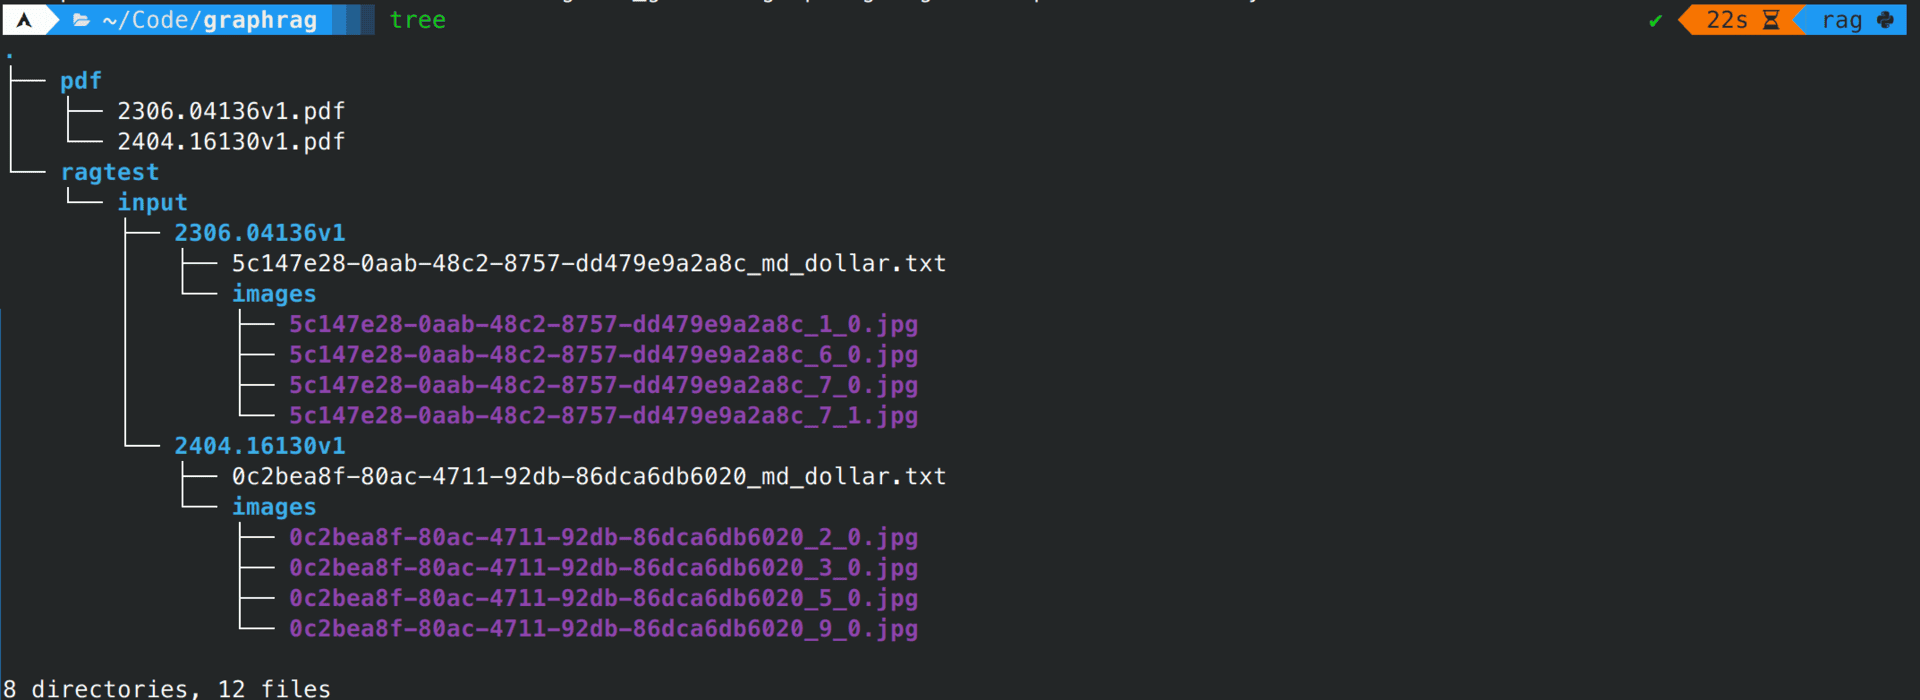
Create two folders to store the PDFs before processing and the txt files after processing:
mkdir ./pdf
mkdir -p ./ragtest/input
Put the PDFs to be processed into the pdf folder, here using graphrag's own paper and it's references.
Go to Doc2X, click on identity information, and copy your identity token as a key.
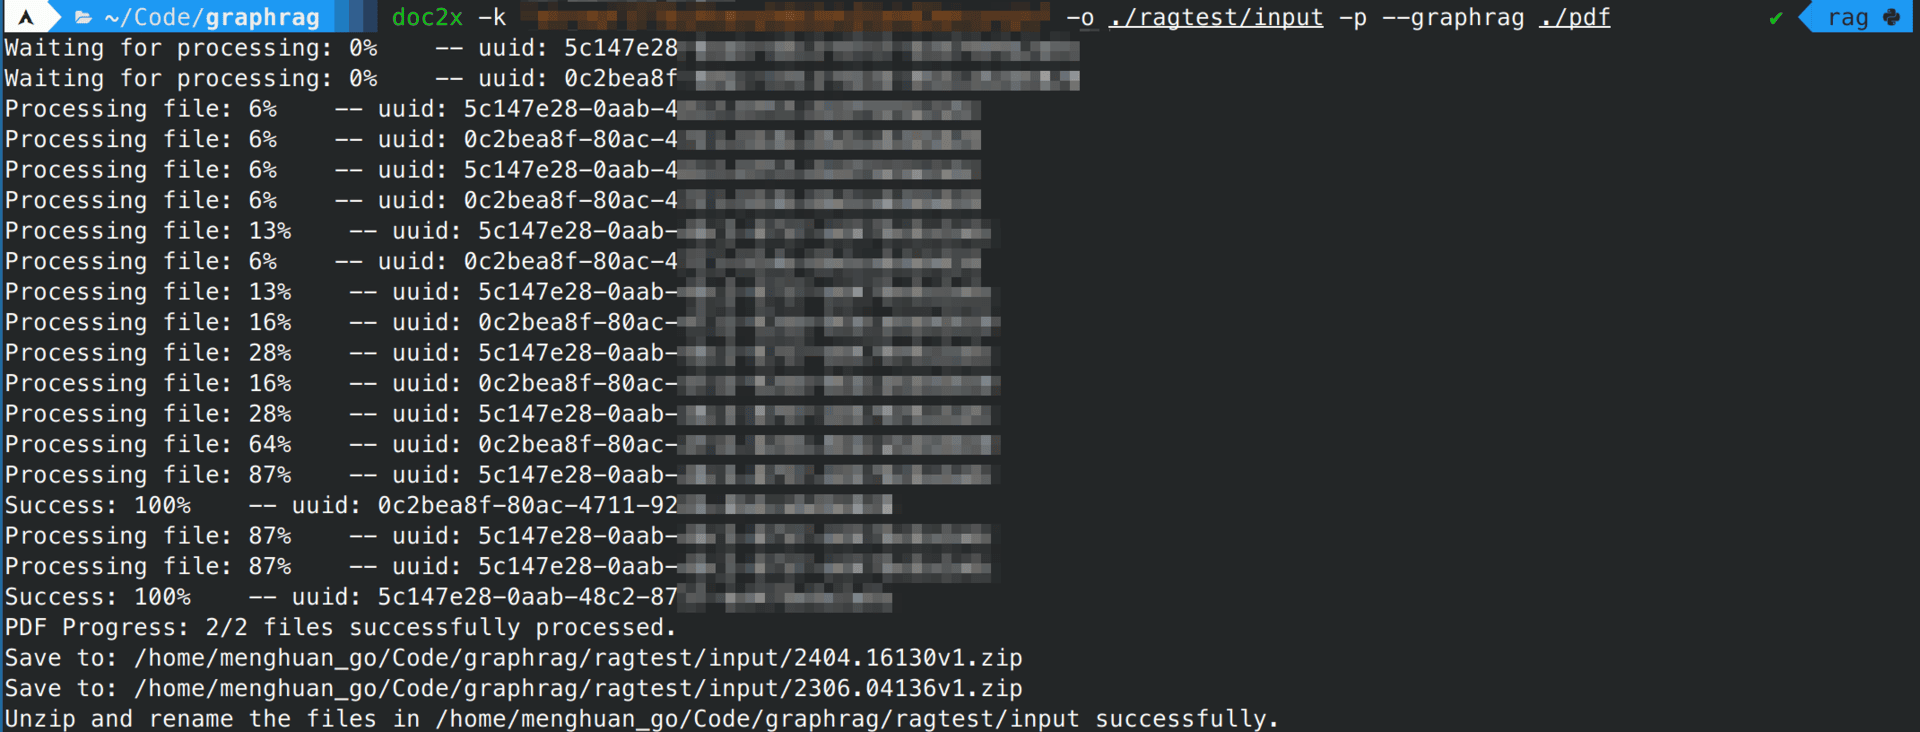
Use pdfdeal's CLI tool doc2x for batch processing, please add the long flag --graphrag to enable special adaptation for graphrag:
doc2x -k "Your Key Here" -o ./ragtest/input --graphrag ./pdf
Wait for it to complete processing:

Step2: Build knowledge graph
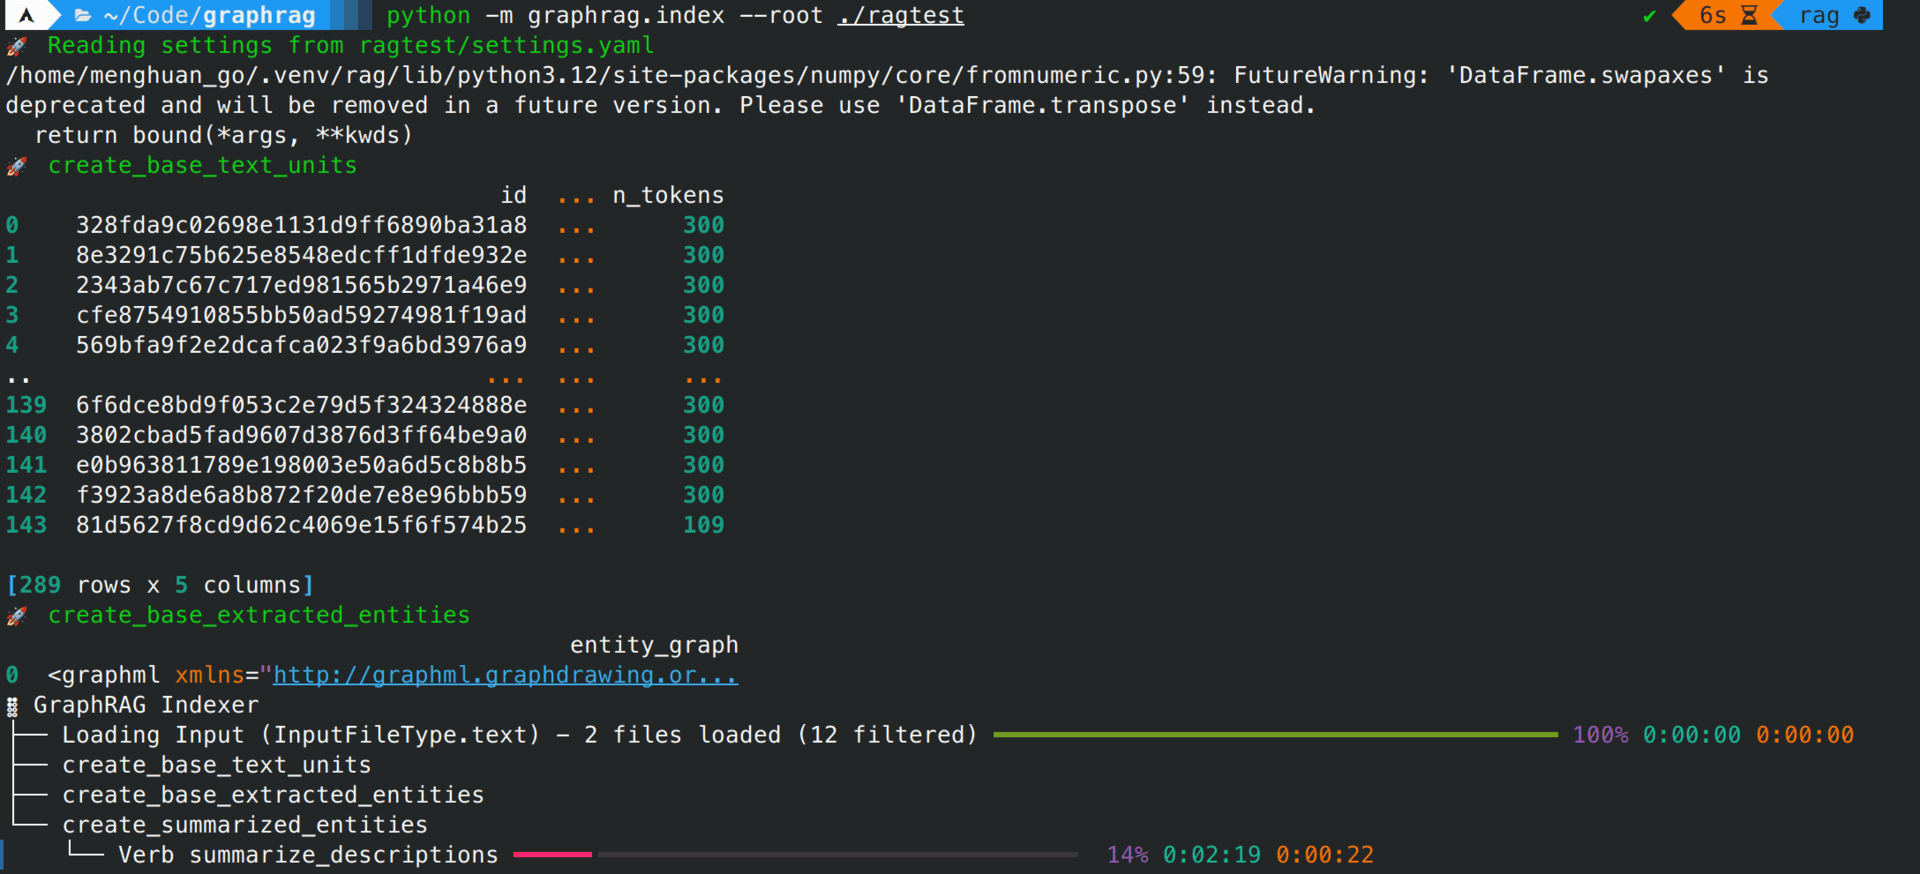
python -m graphrag.index --init --root ./ragtestModify settings.yaml and .env files, then build:
python -m graphrag.index --root ./ragtest
After building is complete, you can start asking questions to graphrag using different answering strategies:
global
python -m graphrag.query \
--root ./ragtest \
--method global \
"Q"
local
python -m graphrag.query \
--root ./ragtest \
--method local \
"Q"