graphrag集成
2024年7月14日大约 1 分钟Guide
注意
pdfdeal已迁移至NoEdgeAI/pdfdeal,请前往NoEdgeAI/pdfdeal-docs 查看文档
pdfdeal has been migrated to NoEdgeAI/pdfdeal, please visit NoEdgeAI/pdfdeal-docs for documentation
安装并配置相应的库
为避免不必要的麻烦,请使用虚拟环境:
- miniconda3,conda的最小化安装版本,当然您也可以直接使用Anaconda。
- uv,一个非常快的包安装程序和解析器,使用Rust构建。
conda
conda create -n rag python=3.12
conda activate rag
pip install --upgrade pdfdeal graphrag
uv
uv venv
source .venv/bin/activate # For Linux
source .venv/Scripts/activate # For Windows
uv pip install --upgrade graphrag pdfdeal
Step1:转换PDF
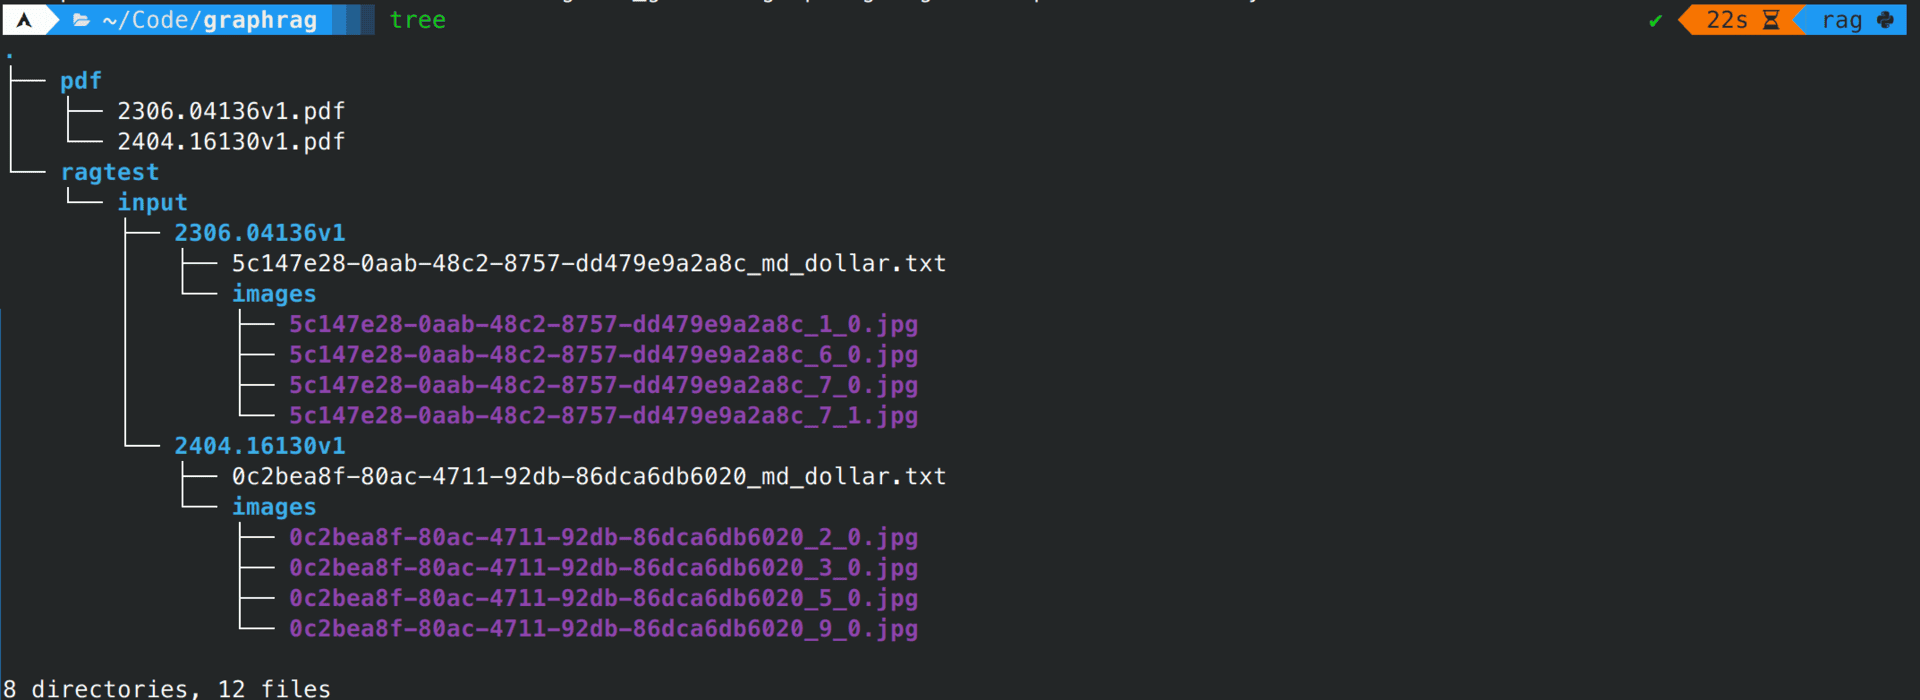
新建两个文件夹,用于存储处理前的PDF以及处理后的txt文件:
mkdir ./pdf
mkdir -p ./ragtest/input把要处理的pdf丢到pdf文件夹中,这儿使用的graphrag论文本身以及参考文献。
前往Doc2X,点击身份信息,复制你的身份令牌作为密匙。
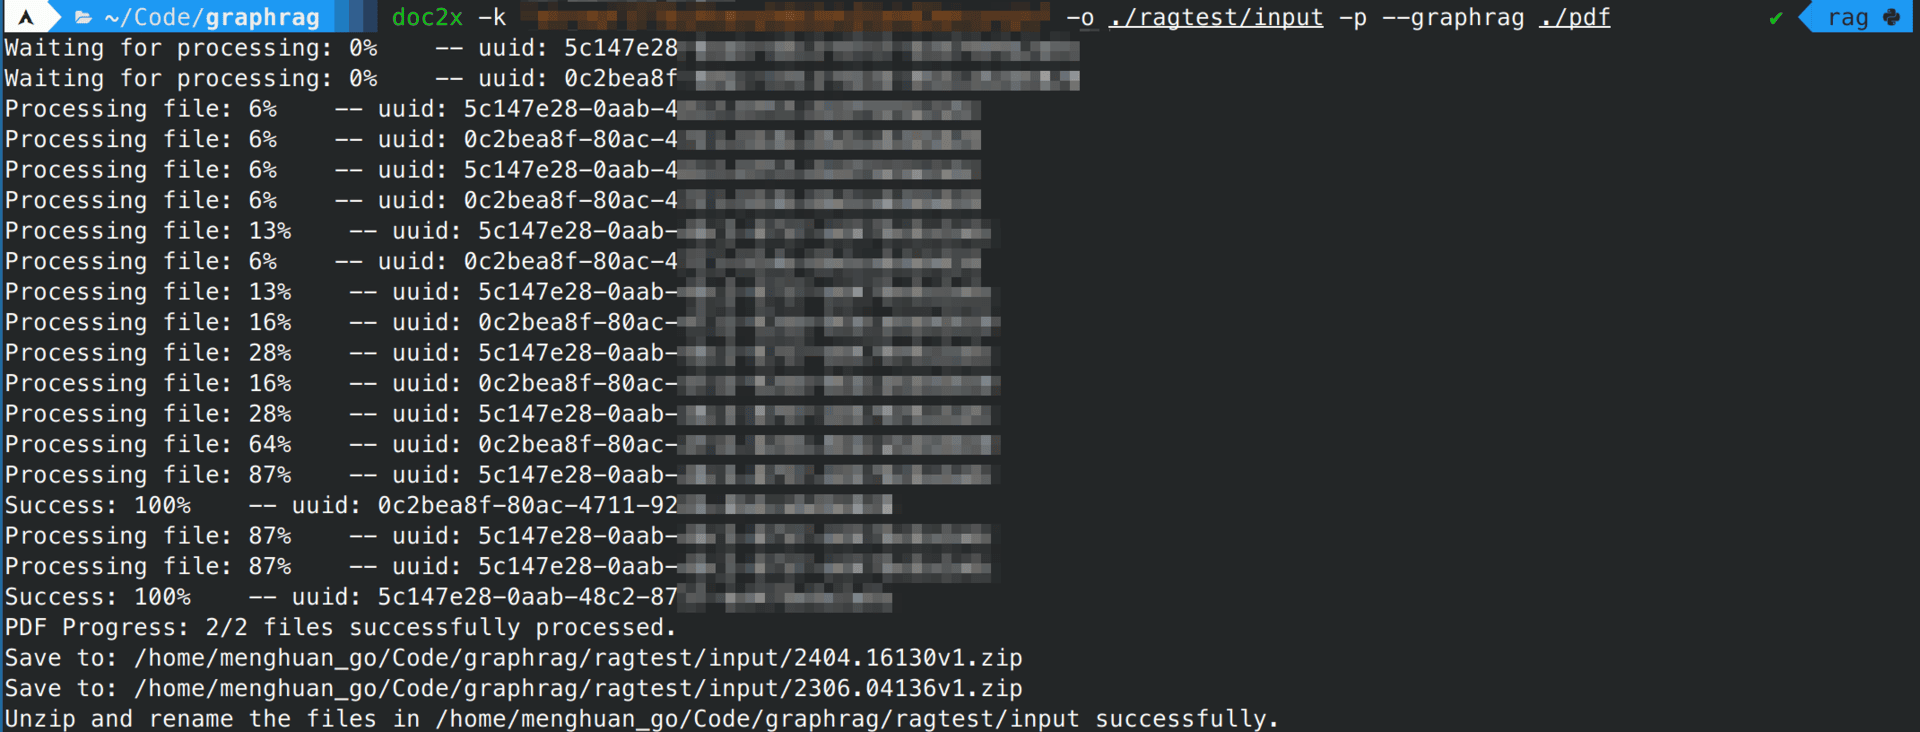
使用pdfdeal的CLI工具doc2x进行批处理,请加上长标示--graphrag以启用对graphrag的特殊适配:
doc2x -k "Your Key Here" -o ./ragtest/input --graphrag ./pdf
等候其处理完成:

Step2:构建知识图谱
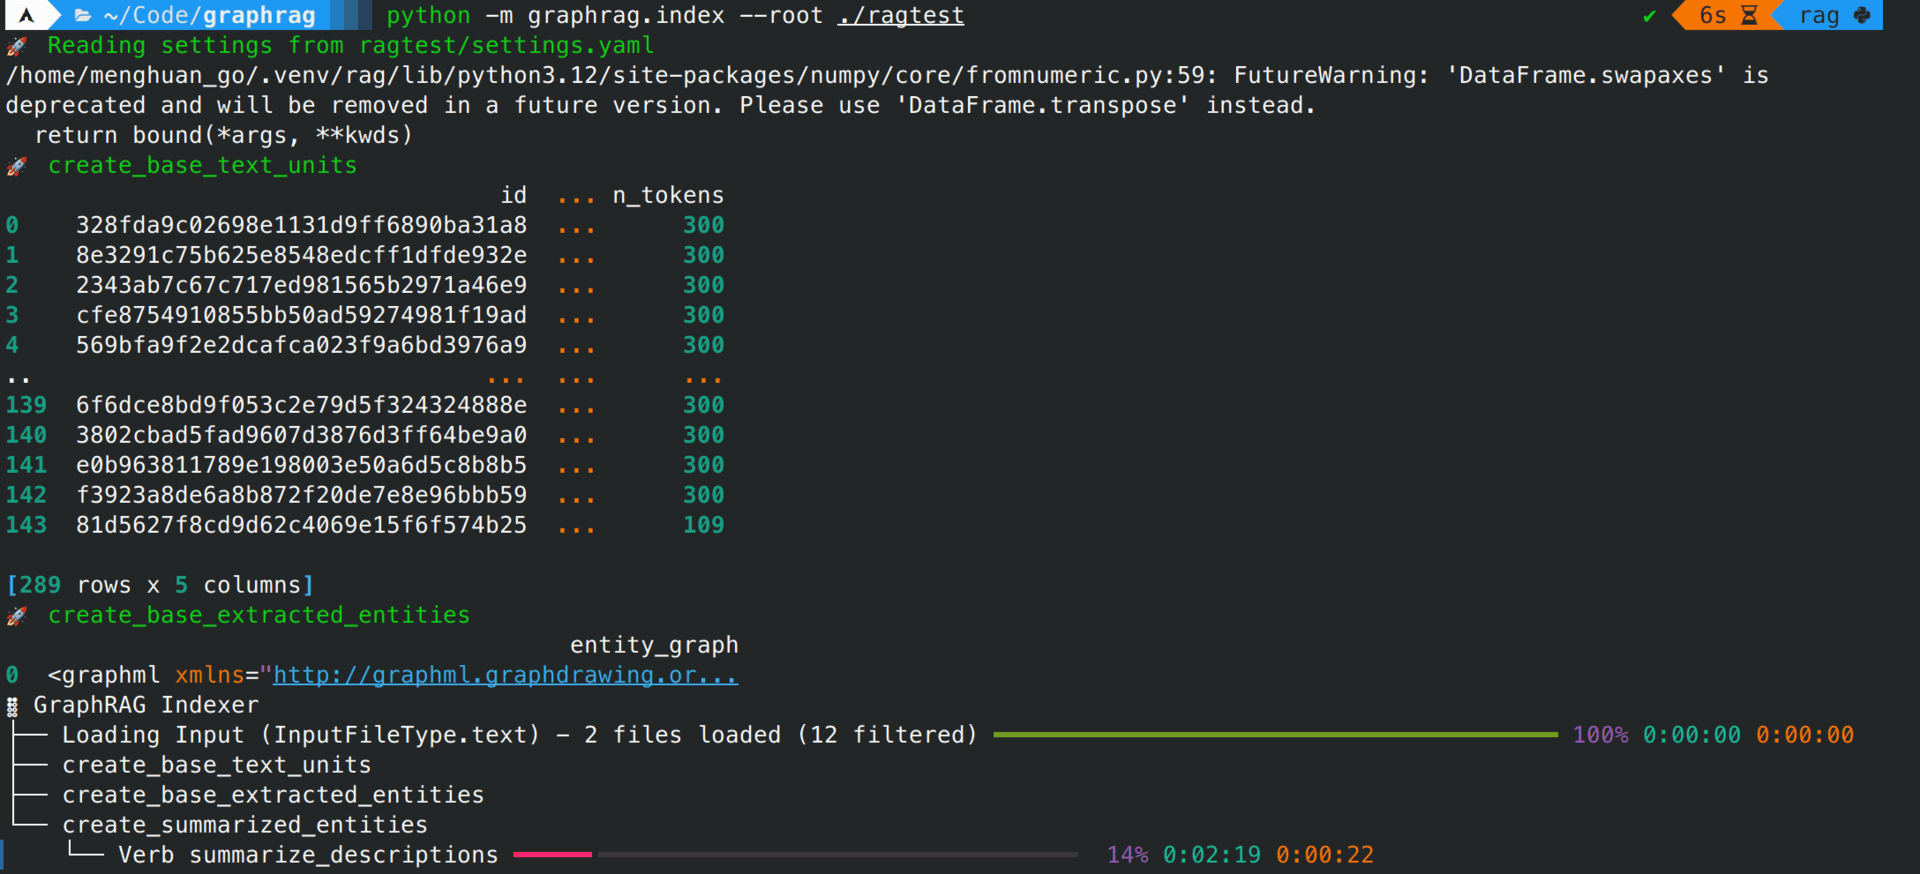
python -m graphrag.index --init --root ./ragtest修改settings.yaml以及.env文件,随后进行构建:
python -m graphrag.index --root ./ragtest
构建完成后您就可以对graphrag发起提问了,使用不同的回答策略:
global
python -m graphrag.query \
--root ./ragtest \
--method global \
"问题"
local
python -m graphrag.query \
--root ./ragtest \
--method local \
"问题"